- Introduction
- Part 1 - Installation of the Car PC
- Part 2 - Adding a Rear-View Camera
- Part 3 - Time for some Software!
- Part 4 - An LED message sign
- Part 5 - Voice Commands
- Part 6 - Phone Integration
- Part 7 - XM Radio Integration
- Part 8 - Permanent Internet
- Part 9 - Front Camera
- Part 10 - Digital Dash
- Part 11 - Shuttle Jog Wheel
- Frequently Asked Questions
Adding a Rear-View Camera
Many new cars offer the option of a rear-view camera. Usually, it's a luxury feature. But I added one to my car in about 3 hours. Here's how:Update: On Feb 7th, 2009, I upgraded my cheapo camera to a proper one. This article has been updated to refer to the new camera, but you can still see pictures of the old one at the end of the article.
Parts List
- Reverse camera with hole saw included
- Assorted cables and wires
- 7809 voltage regulator, project box, and a capacitor
- IPKamera network video server - also used for Front Camera
Steps
With the help of my friend Richard, we drilled a hole into the body of my car. Warning: Do not do this until you are ready, as you can't undo it!I pulled the trim panels off the inside of the trunk and had no problem running the wires all the way to my spare tire, where my CarPC is located. I reassembled everything and tested it out.
Here's a close-up of the camera.
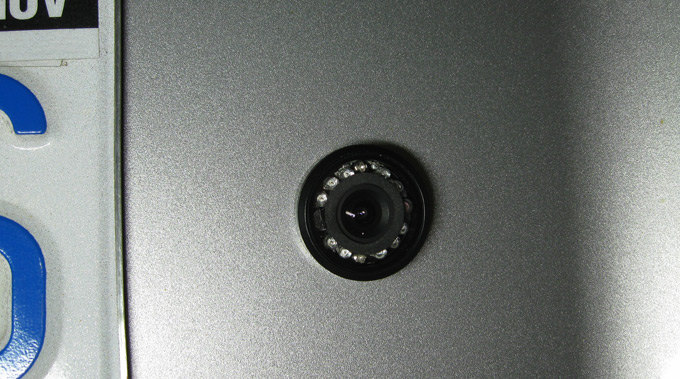
Here's what it looks like on the back of my car. It's very slick, it looks like it's supposed to be there.

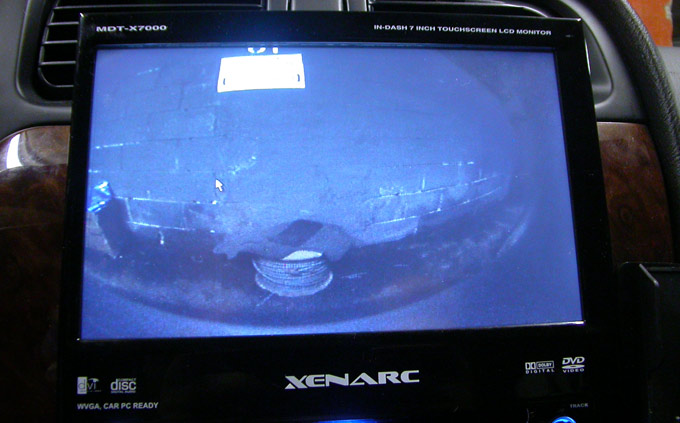
And finally, here's what the view from the camera looks like. (to be updated)
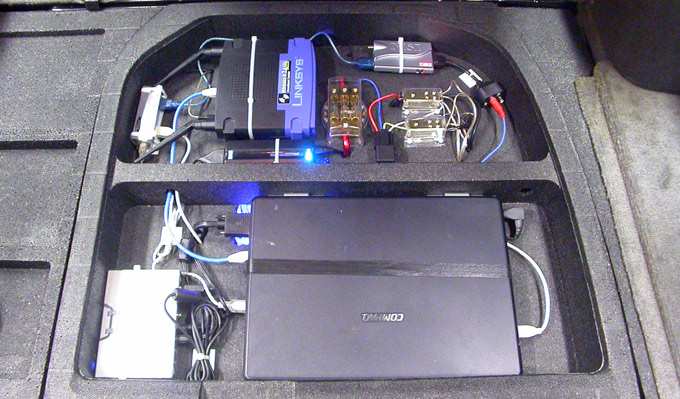
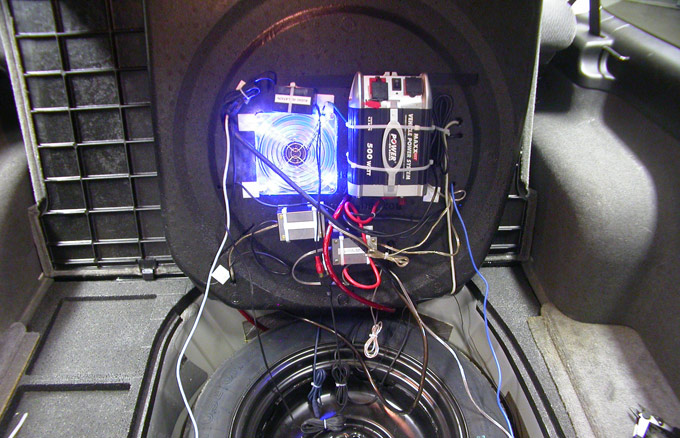
After wiring the camera in, the car PC setup has changed a bit since the photos from "Installation".
 Some of the changes that were made based on the 1500 km I have driven since the Car PC was installed:
- Removal of the inverter from regular use. It generates too much heat and noise, and frequently doesn't start up properly. The router and hub are now powered by home-made DC to DC power supplies.
- Addition of a home-made audio isolation circuit. You can make one of these for pretty much free by gutting some old PC modem cards. It eliminated my noise problems in the car.
- Addition of a tie-down strap for the laptop. During the road trip it banged around and a lot of the connectors came out.
- Also in the above photo, you can see the MSI VOX BOX I use to get the video feed from the camera. (Top Right)
An updated shot of the underside:
Move on to Part 3 - The Software
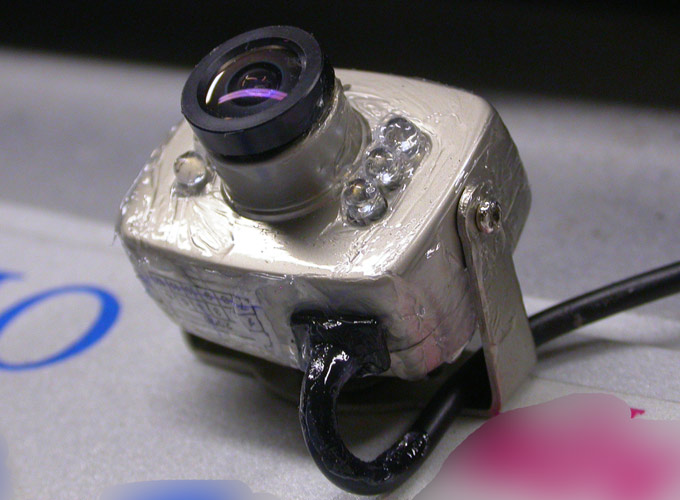
Old Camera
This is the camera I had before. It worked, but the image quality was terrible and it suffered from water problems.